rutuja.tilekar
Last updated: 29 January 2026
In this article, you will find:
Navigation guidance for accessing the Integrations area within platform.
Information about managing your connected integrations.
In order for the OneClickComply to automatically detect, remediate, and document compliance and security gaps within your organisation, it must first be connected to the tools that your business uses. This process can be completed from within the Integration tab of the main navigation bar, as shown below:
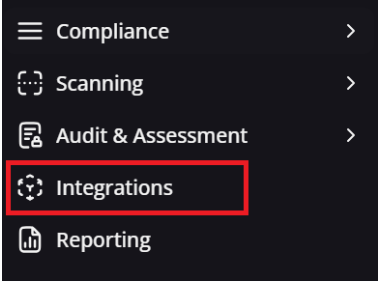
Accessing the Integrations area
Once on the Integrations page, you will be shown a list of all integrations currently available on the OneClickComply platform. You can use the search bar at the top of the page to filter for specific tools or environments your organisation uses.
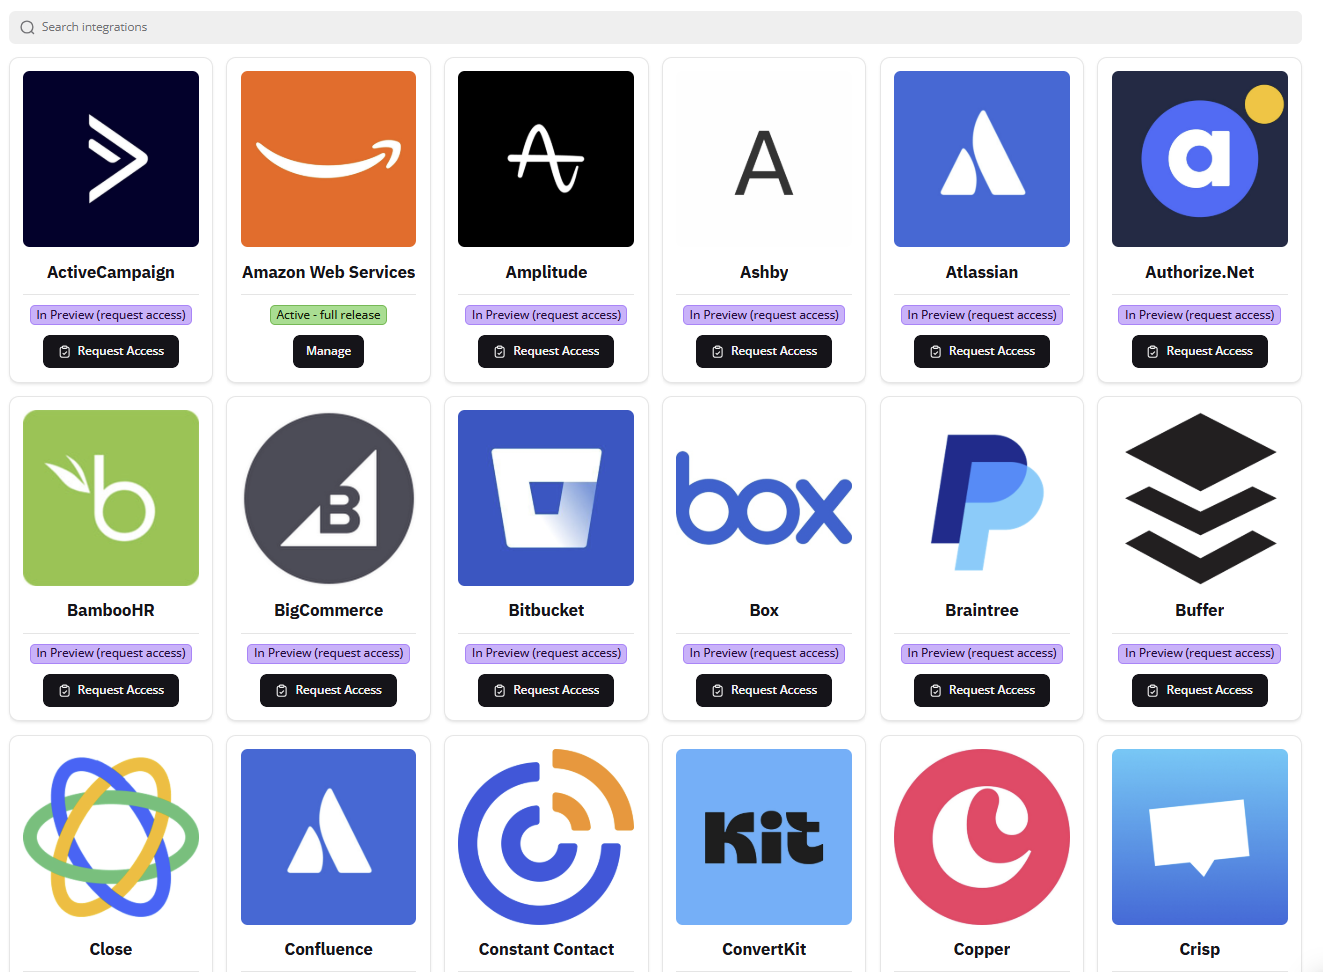
Screenshot of Integrations Page
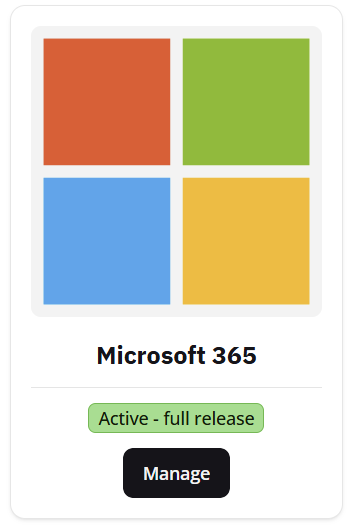
Note: Integrations that are labelled 'Active - full release' are available for immediate use. These include Amazon Web Services, Google Cloud Platform, Google Workspace, Microsoft 365, and Microsoft Azure.
Some integrations, such as Windows On-Premise will be marked as 'Active - BETA,' as they may still require updates and changes.
All other integrations are currently limited to the In Preview status. If you would like to use one of these integrations, please click the Request Access button, as shown below, and a member of the OneClickComply team will be in touch to discuss enabling your chosen integrations for your account.
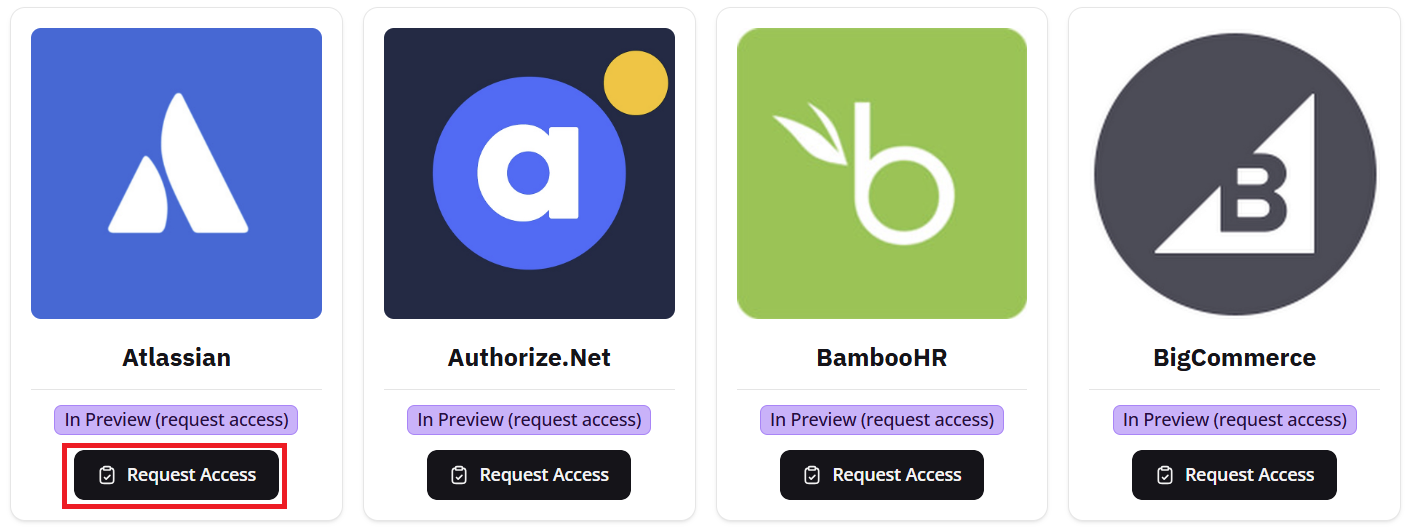
Example of Requesting Access
If you have already connected an integration, the Add button underneath the label will be replaced with Manage, as shown below:
Options for managing integrations
Selecting the Manage button on any of your current integrations will open that integration in more detail and allow you to manage your connections. You will see a page similar to the following:

An example of managing an integration
Let's review each of the core areas within this new page:
Integration Author: Indicates who created and published the integration within the OneClickComply team.
Type: Shows whether an integration has been certified by OneClickComply. We will sometimes release integrations into beta, which will be shown here with the appropriate tag.
Documentation: A direct link to the relevant support area.
Connection ID: A unique string that can be given to the OneClickComply support team for more effective triage and support.
Connection Name: The 'Friendly Name' given to the connection by the user during the integration process. This name will be used in other areas of the platform in order to prevent confusion and maintain accuracy in the event multiple integrations are added.
Licenses in Use: A list of the licenses that the business owns for that particular integration. In the above example, the business uses an E5 Microsoft 365 license.
Lastly, when hovering over any added connector row, an ellipsis button "..." will appear at the right hand side. Selecting this will reveal the following options:
Manage Connection: Allows you to quickly update which licenses your organisation uses. E.g. moving from Microsoft 365 Business Premium to Microsoft 365 E5.
Setup [Integration]: This option will only appear during the initial integration process, and enables you to complete the necessary steps to establish the connection between the integration and the OneClickComply platform.
Delete: Allows you to delete a connection.