rutuja.tilekar
Last updated: 19 January 2026
In this article, you will find:
A step-by-step guide for configuring your Microsoft Azure environment, and integrating it with the OneClickComply platform.
In order to integrate the OneClickComply platform with your Microsoft Azure environment, we require the creation and use of an Azure application with Reader access permissions, which can be created either manually, or through CLI commands.
This support article has been created to guide you through the process of creating an Azure application, assigning the correct permissions, and integrating your Azure environment with the OneClickComply platform.
Note: Please ensure you follow the instructions provided in this guide carefully, as incorrectly configuring your Azure environment will result in an unsuccessful integration.
Go to the Microsoft Entra Portal and sign in.
Click on New Registration. This will bring you to a page similar to the following:
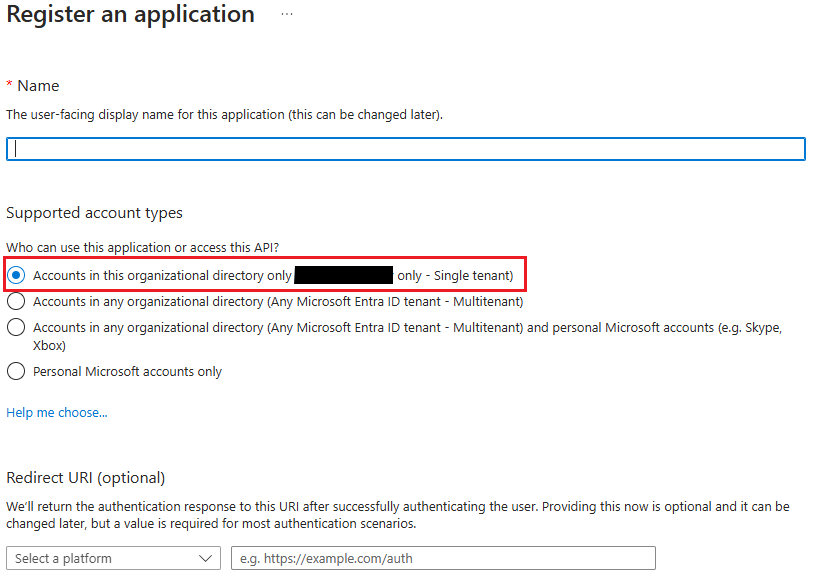
Azure app registration wizard
Enter a name for the new application. We recommend keeping it simple and easy to identify - for example, "OneClickComply Azure Integration".
Ensure that the Supported account type selected is "Accounts in this organisational directory only (Single tenant)". Any other option will prevent the integration from completing successfully.
Click Register.
You will be redirected to the app registration page for your newly created application. Click on API permissions.
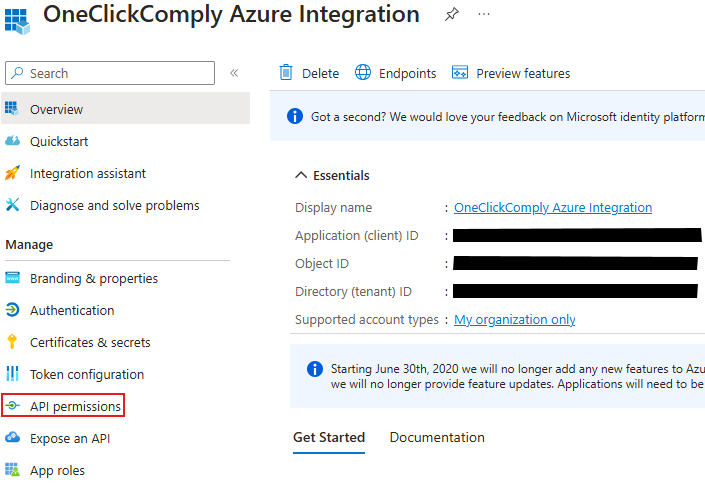
App registration
Click on Add a permission, and then select Microsoft Graph, as indicated below:
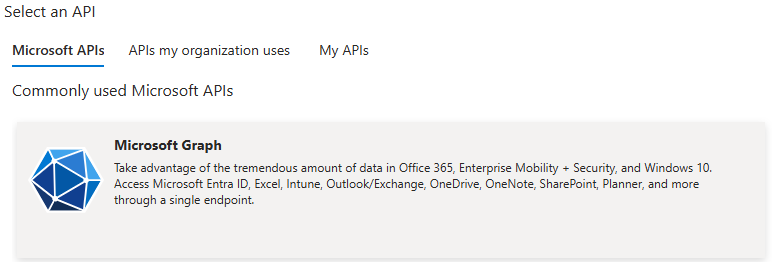
Azure API selection
Select Application Permissions and add the following permissions:
Directory.Read.All
Policy.Read.All
UserAuthenticationMethod.Read.All
Click the Add Permissions button.
Click Grant admin consent for [organisation name].
Now navigate to Subscriptions - Microsoft Azure
Select the subscription that you wish to integrate with the OneClickComply platform.
Click Access Control (IAM) from the left-hand menu.

Access control option
Click Add, then select the Add role assignment option.
Add role assignment option
Click on the Reader role type, as shown below:
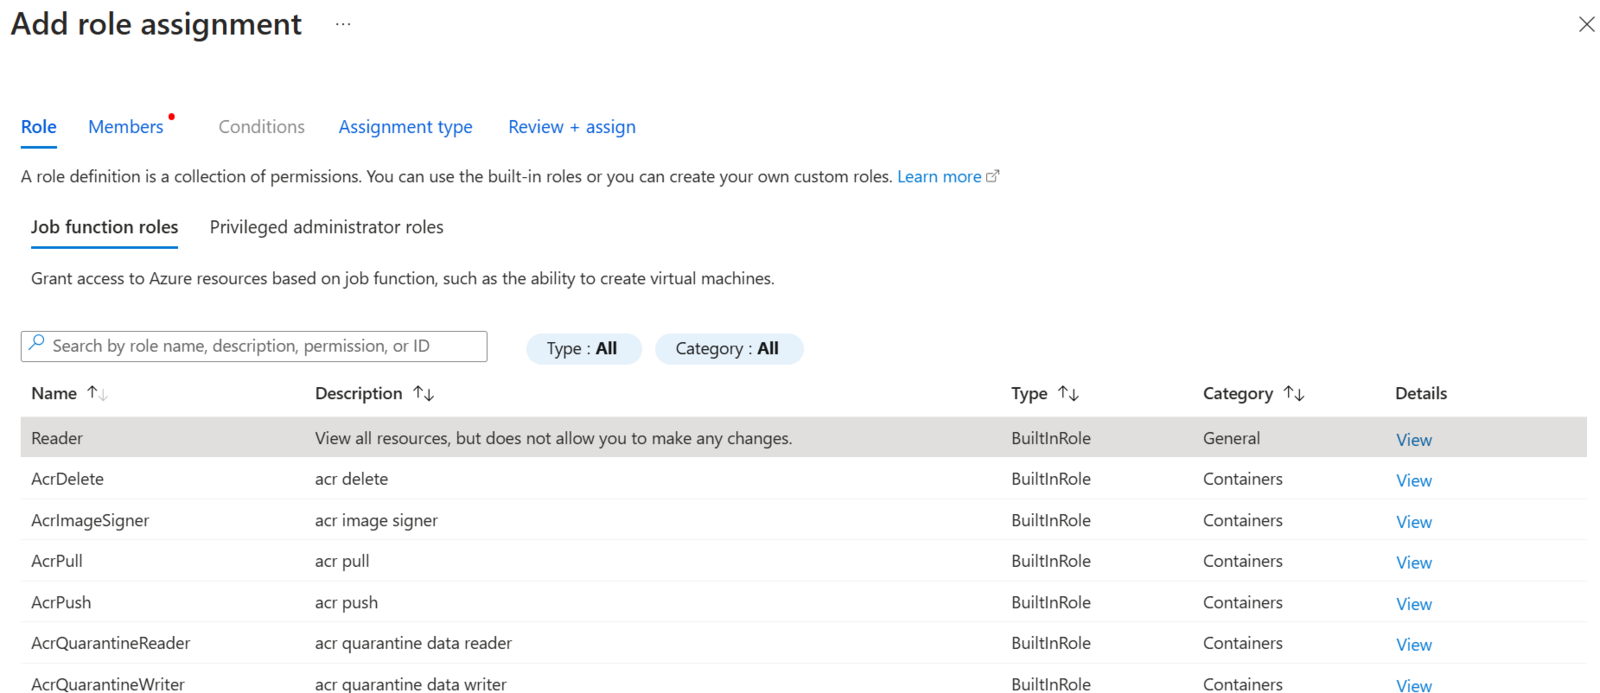
Reader role assignment
Click Next and then press Select members.
Select members option
In this new menu, type in the name of the app that you registered. Our example is called "OneClickComply Azure Integration."
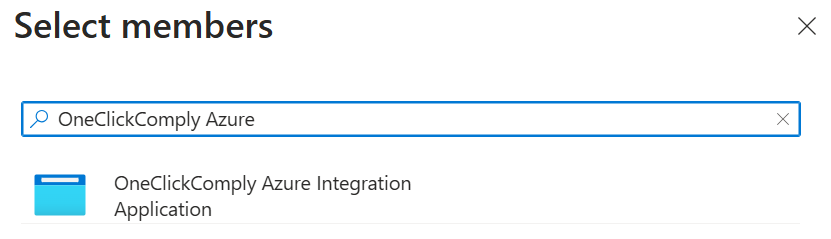
Select member option
Click on your app registration, then click Select at the bottom of the menu.
Click Review + Assign. This will allow you to check that you have selected the correct role and application.
Click Review + Assign again to confirm the role assignment.
Go to App registration - Microsoft Entra admin center and click on your app registration.
Click on the Certificates & Secrets option from the left-hand menu, as shown below:

Certificates & secrets option
Select the New client secret option:
New client secret option
(Optional) Enter a description for the secret so that it can be identified easily by administrators.
Choose an expiry time for the secret, then click Add.
You will now be presented with your client secret. Please make sure that you copy the contents of the "Value" field and store it securely, as it is required for the integration process. (If you refer to the example below, please copy the string that would appear in place of the black bar.)

Client secret example
If you would prefer a less manual method, we have provided several CLI commands that you can paste directly into your Microsoft Azure terminal to create the app registration, grant Graph permissions, assign the reader role to the subscription, and create a client secret.
Note: We strongly recommend keeping the default names that we have provided for these CLI commands (e.g. APP_NAME). Editing these to match your own internal naming conventions may make potential troubleshooting and support more difficult later on.
Replace the following values in the command below and run once
Replace <your-subscription-id>with the ID of the Azure subscription you want to connect. (Optionally - change the SECRET_YEARS= value if you would like a different expiry length)
# Azure subscription to connect
SUBSCRIPTION_ID="<your-subscription-id>"

# Name for the app registration / service principal
APP_NAME="OneClickComply Azure Integration"

# Secret expiry in years (1, 2, etc.)
SECRET_YEARS=2
Create app registration and service principal
APP_REG=$(az ad app create \
  --display-name "$APP_NAME" \
  --sign-in-audience "AzureADMyOrg")

APP_ID=$(echo "$APP_REG" | jq -r '.appId')

SP=$(az ad sp create --id "$APP_ID")
SP_ID=$(echo "$SP" | jq -r '.id')
Add Microsoft Graph permissions
az ad app permission add \
  --id "$APP_ID" \
  --api "00000003-0000-0000-c000-000000000000" \
  --api-permissions \
    "Directory.Read.All=Role" \
    "Policy.Read.All=Role" \
    "UserAuthenticationMethod.Read.All=Role"

az ad app permission grant \
  --id "$APP_ID" \
  --api "00000003-0000-0000-c000-000000000000"

az ad app permission admin-consent --id "$APP_ID"
This applies the three Graph application permissions and performs the admin consent equivalent.
Assign 'Reader' on the subscription
az role assignment create \
  --assignee-object-id "$SP_ID" \
  --assignee-principal-type ServicePrincipal \
  --role "Reader" \
  --scope "/subscriptions/$SUBSCRIPTION_ID"
Create the client secret
SECRET=$(az ad app credential reset \
  --id "$APP_ID" \
  --display-name "OneClickComply secret" \
  --years "$SECRET_YEARS")

CLIENT_SECRET=$(echo "$SECRET" | jq -r '.password')

echo "App (client) ID: $APP_ID"
echo "Directory (tenant) ID:"
az account show --query tenantId -o tsv
echo "Client secret (copy this now and store securely): $CLIENT_SECRET"
Copy the following values, and store them securely, as they are required during the integration process with the OneClickComply platform:
App (client) ID
Directory (tenant) ID
Client secret
Please follow the steps outlined below to connect your Microsoft Azure environment to the OneClickComply platform.
Once you followed the steps outlined in the Azure setup guide, you should have a client secret stored securely within your organisation.
Ensure that the secret is correct, and that your Azure subscription is still valid before continuing.
Move to the OneClickComply platform to begin the integration process.
Navigate to the Integrations tab and click Add on the Microsoft Azure integration.
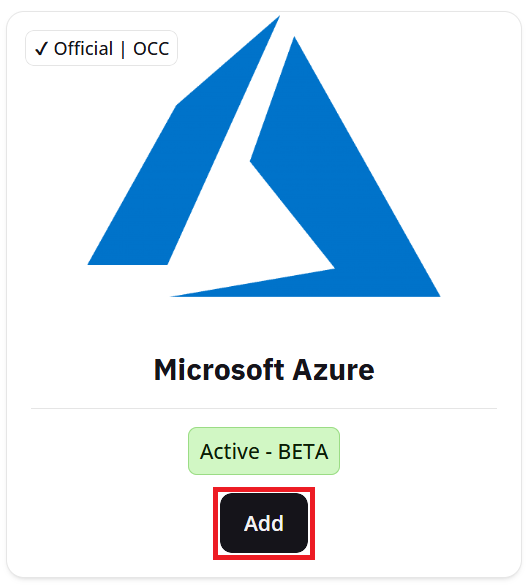
Azure integration guide
On this new screen, click Add Connection to begin connecting your Azure environment to the platform.
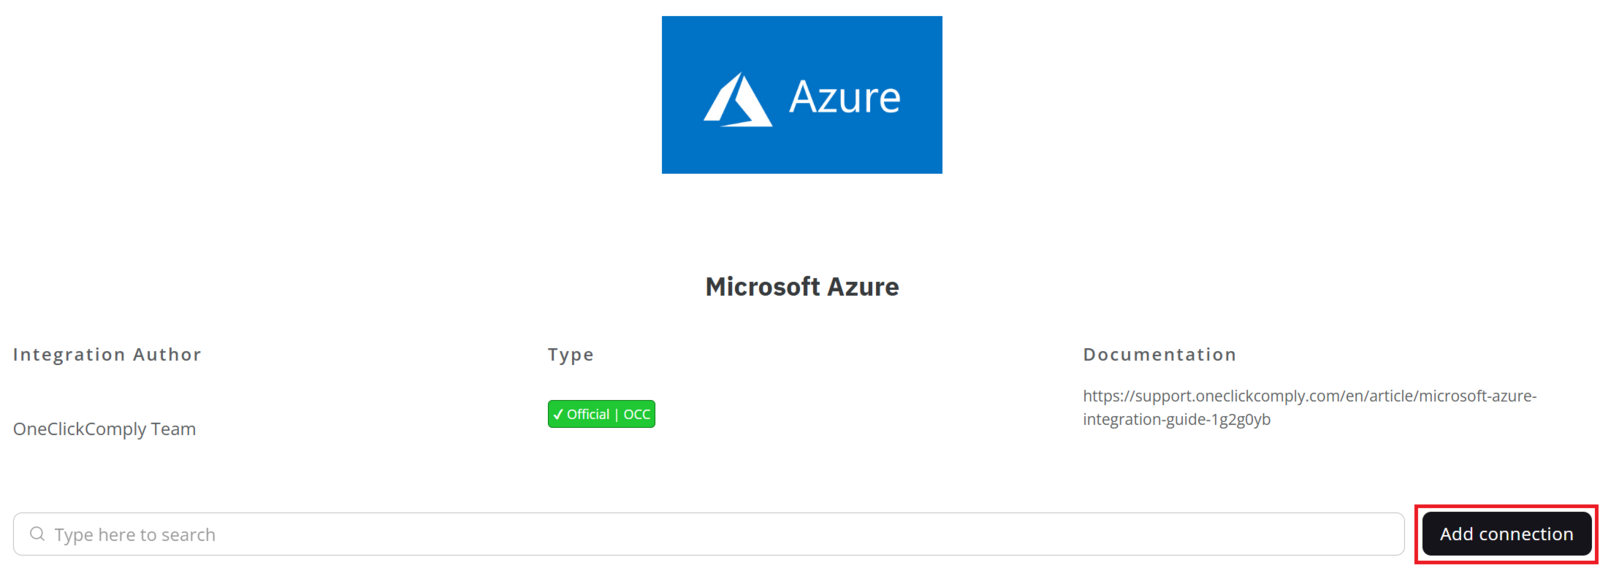
Azure integration screen showing the 'Add Connection' button
Your new connection will appear in the table below the Add Connection button. Hover over the row containing your new connection, and click the '...' button located on the right-hand side of the table.

Completing setup for new integration
Click Complete Setup and follow the steps provided by the integration wizard, which will explain how to connect your Microsoft Azure environment to the platform.
Once all these steps are completed, the OneClickComply platform will have successfully paired with Azure, and you will see the following message:
.png?Expires=253402300799&Key-Pair-Id=K3I1KRL096EJY2&Signature=oOwB2C0Ta9G0IMrOHVBEzKvGn7QX0hfFAFzOKkAkA9nvBY~9tCeQw2D2o4xm2-eV84OVHvqiW4MVIi1XdVtG6IMlKTFXh7celFJH~uYmJXYQJfDOv4EU1EMwXF7rMpKUkvl4JWQd27yESdYqayqDGXujCU3gquYGJeYUnvMtbZVW688kiLa1qPT93ZnMgmU5h4ZACIKW4cJ3EhXrWi4hjTbNZ3z-8NinLceDToY02BwNWY63A6jG2Kj8Lb0T4KIWruVltmKfa5q2V9urSnufHz7l8SbguT4D9nZIEfzNYp-AHAUAdcOT1vk-hJPkwZR2pf5rpfB-lwsiw4YXVeP4bg__)
Successful integration message
The platform will then begin automatically scanning your environment for gaps and misconfigurations in-line with the standards you have access to as part of your subscription package.
If you have not enabled a standard at this point, navigate to the Standards area, located within the Compliance tab.
Edit the status of the standard(s) you wish to work towards, and set them to Active. This will cause any identified misconfigurations or gaps to appear within the Controls Management area.
To learn more about managing compliance standards and controls, please review our dedicated support articles.