rutuja.tilekar
Last updated: 27 January 2026
In this article, you will find:
A step-by-step guide on connecting your Microsoft 365 environment to the platform.
Please ensure that you are signed in as a Global Admin in Microsoft 365 before following the steps below. You will need to grant the required permissions to enable the connection with the OneClickComply platform.
Select Integrations from the left-hand navigation bar.
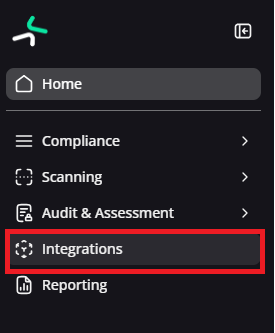
Navigation guidance for integrations
Select Add on the Microsoft 365 integration, then click Add Connection.
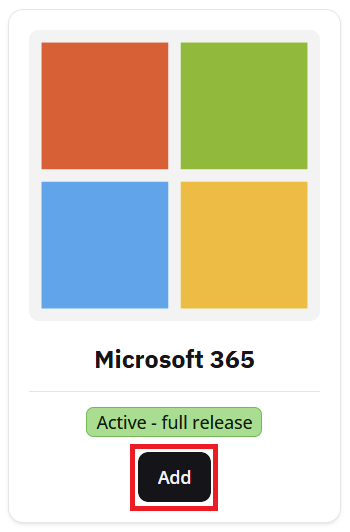

Guidance for adding connections
Type in a friendly name, one that you don't mind seeing in various locations on the platforms.
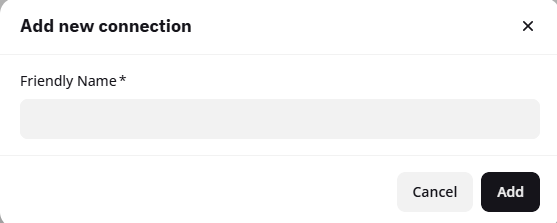
Adding a friendly name
Your new connection will appear in the table below the Add Connection button. Hover over the row containing your new connection, and click the '...' button located on the right-hand side of the table.

Completing setup for new integration
Click Setup Microsoft 365 which will open a side panel.
Check the confirmation box to reveal the Tenant ID field. Enter your Microsoft 365 tenant ID then click Next.
Note: If you can't find your tenant ID, click You can find your tenant ID here, underneath the text box, which will open a new tab to the correct area within Microsoft Entra.
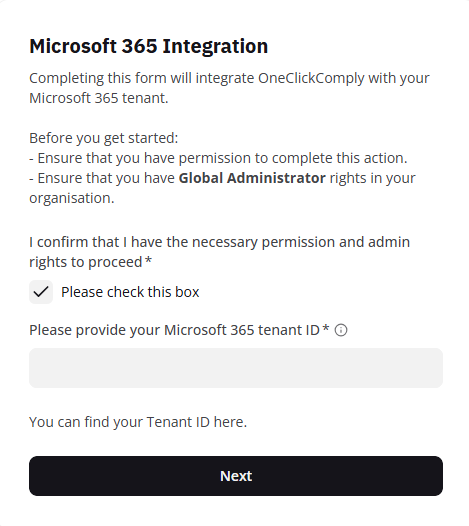
Screenshot of Tenant ID Window
Carefully read the outlined changes that will be made to your Microsoft 365 tenant. Once reviewed, acknowledge the terms and click Next.
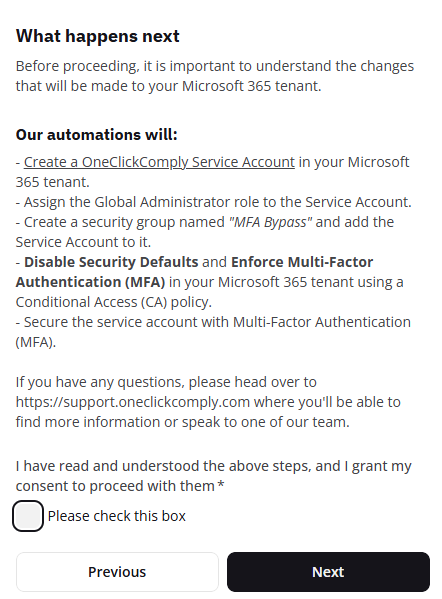
Screenshot of integration details window
Click the Authorise link to sign in using a Global Administrator account. To finish, check the final confirmation box and click Submit.

Screenshot of Final Integration Approval
Once these consents are granted, there will be a short wait while the platform carries out the initial authentication and creates a secure environment to run tasks.
The platform will then begin scanning your environment for gaps and misconfigurations in line with the standards included in your subscription package.
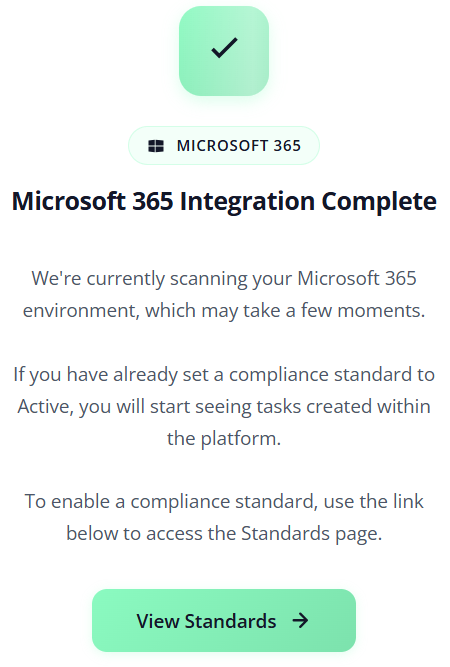
Screenshot of M365 Environment Scan window
To view these gaps, navigate to the Standards area within the Compliance tab, and set the desired security standards to Active.
Once done, outstanding controls and associated tasks will begin to populate the Controls Management area.
To learn more about managing compliance standards and controls, please review our dedicated support articles.