Finn O'Brien
Last updated: 12 January 2026
In this article, you will find:
Navigation guidance for accessing the Incident Management area.
The process of updating an incidents
You can access this area by selecting the Incident Management button from within Compliance > ISMS, as shown below:
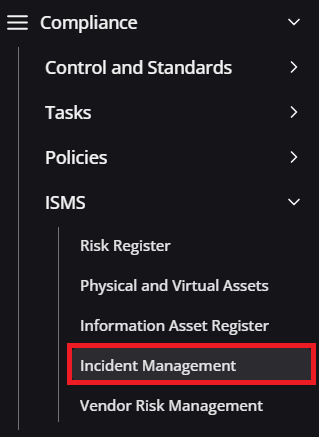
Incident management navigation guidance
All incidents that occur within a business must be recorded accurately for compliance and improvement purposes. These incidents can be updated by selecting Review on the desired incident, as shown below:

Reviewing an incident
After selecting Review, a new window will open, displaying more information about an incident. The following page will appear:
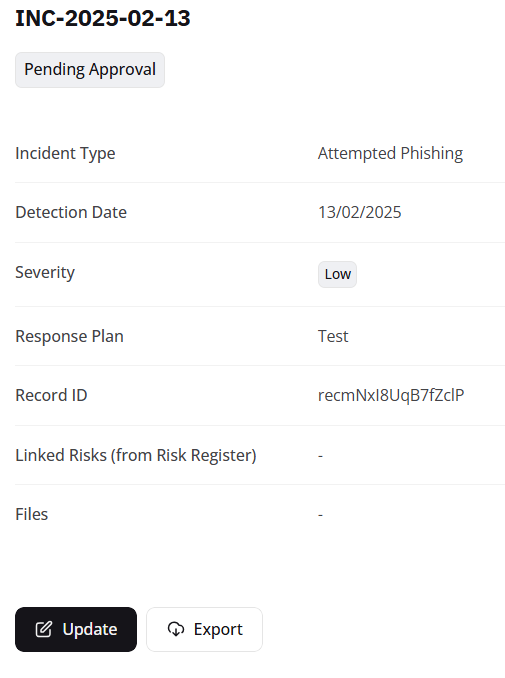
Example incident window
Information regarding an incident can be changed by selecting Update.
This will open pop-up window, allowing you to modify the information for the selected incident, as shown below:
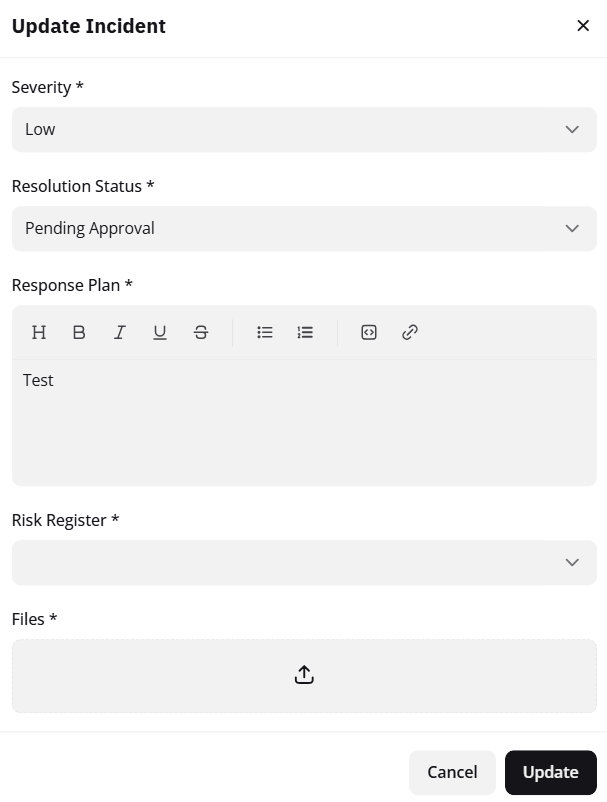
Updating an incident
The incident is categorised into different groups, as shown above:
Severity: A category to show the impact the incident had on business operations. The categories are: Low, Medium, High, and Critical.
Resolution Status: Indicates whether the task details have been approved.
Response Plan: A record of the steps to respond to the incident. For example, a phishing attempt can be responded to by quarantining the targeted inbox, blacklisting the sender, and updating associated playbooks.
Risk Register: Any risks within the risk register that should be linked to this incident.
Files: Any files associated with this incident can also be uploaded, such as a transcript of the event, a screenshot of a phishing email, or any other record that are relevant to the incident, or may help with future threats.
Once you have finished changing the incident details, click Update.