Finn O'Brien
Last updated: 29 October 2025
In this article, you will find:
Navigation guidance for accessing the Vendor Risk Management area
The process of adding vendors to the vendor management area
The Vendor Risk Management area of the OneClickComply platform allows you to log third-party vendors associated with your business, manage the risks associated with them, and automatically send and collect due diligence questionnaires. It can by accessed by selecting the Vendor Risk Management button from within Compliance > ISMS, as shown below:
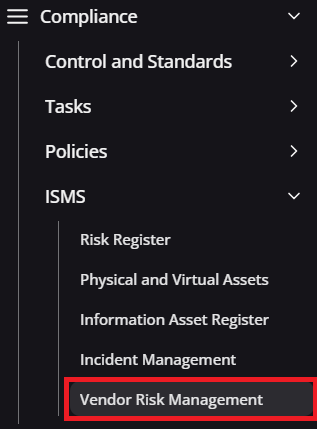
Vendor risk management navigation guidance
Once you have navigated to the Vendor Risk Management area, you will see a page similar to the following:

Adding a vendor guidance
You can add new vendors to this table by selecting the Add Vendor button, as highlighted above. This will open a new window where you can input information related to the vendor. Let's see what information is needed:
Field | Purpose |
|---|---|
Vendor Company Name | The name of the Vendor |
Vendor Category | Select what category the vendor meets (e.g. Finance, IT, Operations, Security, etc.) |
Vendor Contact Email | The email address of your main contact at the vendor |
Status | The current internal status of this vendor within the platform (e.g. Pending Review, Rejected, Approved) |
Owner Name | The name of the person within your business that takes responsibility for this vendor |
Owner Email | The email address of the person responsible |
Once this information has been added, pressing the Submit option moves this information into the Vendor table, as seen in the example above.
Note: OneClickComply offers the ability to automatically detect vendors within your environment by examining various contact points, such as billing emails, team invitation links, tickets etc.
For more information about detecting vendors automatically, please contact a member of the OneClickComply team.