Finn O'Brien
Last updated: 29 October 2025
In this article, you will find:
A guide to process of generating and updating policy contents.
Once you select the New Policy button, the platform will instantly begin generating the policy template. When the template has been generated, the page will automatically refresh to show you your new template. Alternatively, you can use the navigation bar, shown below, to access you the corresponding policies.
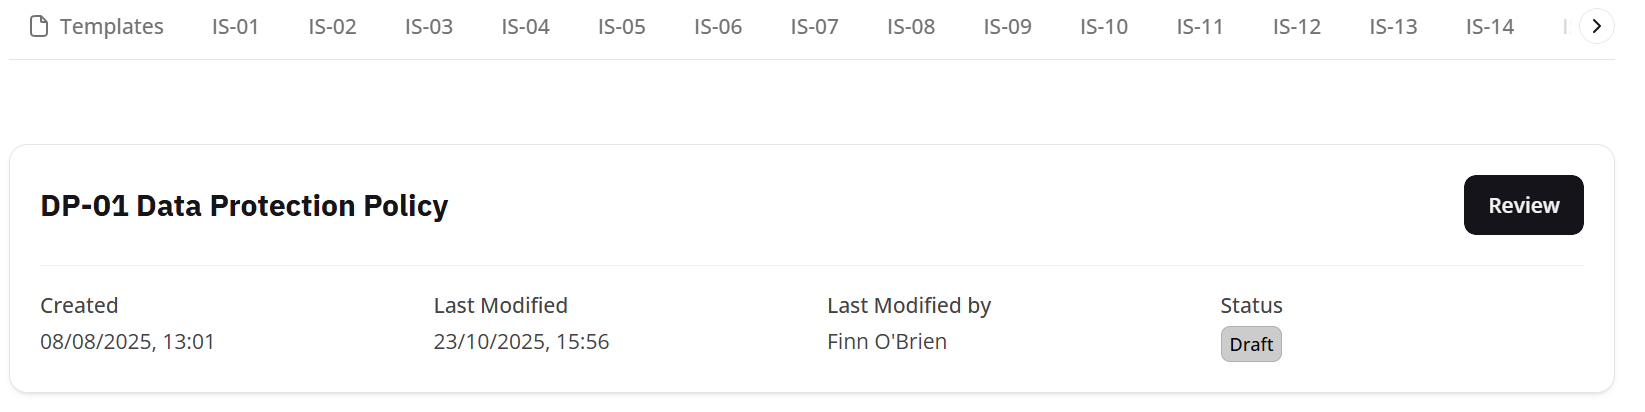
A newly created template
Let's go through the different information available here:
Title: The name of the policy.
Created: A timestamp of when the policy was created.
Last Modified: A timestamp of when the policy was last edited.
Last Modified by: A record of who edited the policy last.
Status: Indicates whether the policy is still in Draft, is currently Live, or Needs Review.
Lastly, the Review button allows you to make modifications to the policy, including updating its content, and changing the status.
You can edit all of your policies by selecting Review on the desired task within the Templates area of OneClickComply. This will take you to the Edit and Publish page for policy templates. Here's what this page looks like:
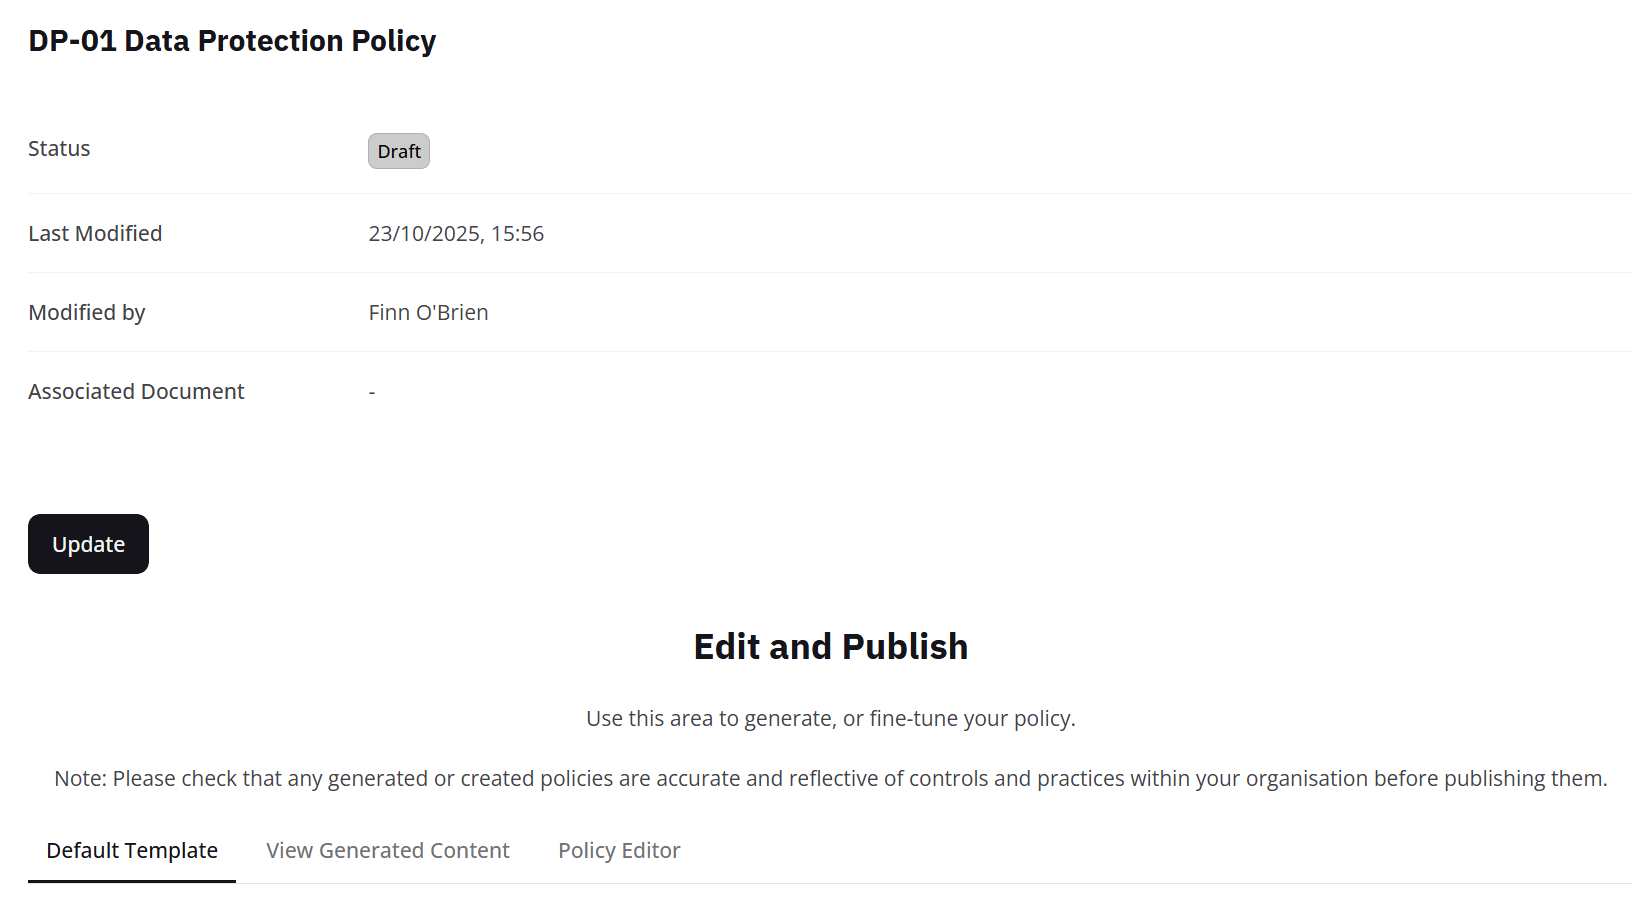
Policy template area example
We've already covered the Status, Last Modified and Modified by tags in a previous article, so we'll focus on the other sections of this page.
Update: This allows you to make changes to the policy, such as changing the status from Draft to Live, or replacing the policy with another one.
Underneath Update you will find the dedicated Edit and Publish area. Here you find several options, which we will cover separately:
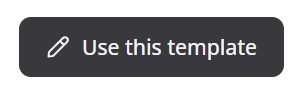
Default Template: As the name suggests, this tab contains the default version of the policy template. By scrolling down, you can select Use this template (as shown below) and this will overwrite any previous changes made to this policy, such as generated content or specific edits, so make sure that you don't erase any work!
Use this template button
View Generated Content: This tab will allow you to view and create any generated content for this policy. You will find two options in this area:
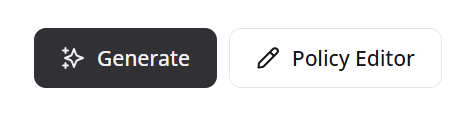
Policy editor and generate button
Policy Editor: This button takes you to the edit area where you can make any changes you wish to the content within your policy, whether you have used the default template, or automatically generated content. If your business already has a pre-written policy that you wish to use, you can paste the content into this area.
Generate: Pressing this button enables the platform to automatically generate content for the policy, based on your currently implemented controls. This allows for your policies to be a true reflection of your security approach, without having to manually write down or remember the controls you have in place.
The Generate function will also take into account any information added to the in-platform ISMS areas, such as the risk and asset registers, allowing for more precise and accurate policy generation.
Please note: The content is generated by our own AI model, so it is important to check that all of the content that it creates is accurate before publishing them. Additionally, if no information has been added to the in-platform ISMS areas, the generated policy will not make reference to it.
Lastly, the final tab in this section is Policy Editor. As explained above, the Policy Editor allows you to make edit to either the policy template, or any generated content.